Showing posts with label Feathered Placemats. Show all posts

Wednesday, November 30, 2016

Christmas Tea with Grandma


It is time for a Christmas Tea Party 
at 
Grandma's house.  
Everything is decorated and magical
and the little ones really notice and 
appreciate it.


Of course, this is very girly girl decor
with fluffy feather placemats, and pink polka dots.
(Click here for the French Macaron tutorial.)


Pretty flower shaped pink plates sit atop the feathers.


A white holly berry plate tops the pink
and pink strips and polka dots finish off
our girls' tea party.


Pink and white macarons decorate the plate.


These lovely pink goblets are perfect,
and they are heavy enough for little ones.


This is all softness and fluff.


This party calls for sterling silver -
my Dubarry by International.


Our candy shop is under glass on
a pink and purple striped cake plate.
I am obsessed with cake plates!

This year I used fairy lights inside the
house, leaving the battery pack out the
back so I can turn it on and off without
removing the cloche.


The kitchen counter is filled with
glittering nutcrackers, and candy
themed items.


Naturally, there are real treats!


I adore the treat themed nutcrackers.


The Sweet Treats tree takes center stage on
the counter for our tea party.


It is surrounded by all kinds of goodies.


Little Christmas elves hide in the tree
to watch everyone during the season.


I got two of these adorable Christmas trees 
under a cloche, and they sit atop candleholders.


There are even nutcrackers with cupcake hats
on the Sweet Treats tree.

Little Jacquelyn who is only four, and she even
knows how to say "macarons" correctly
(like the French do.) 


I will be posting with

Thursday, December 18, 2014

A Table for the Royal Birth


My feathered placemats were so magical
that I had to try them in another color
for this week's tablescape.

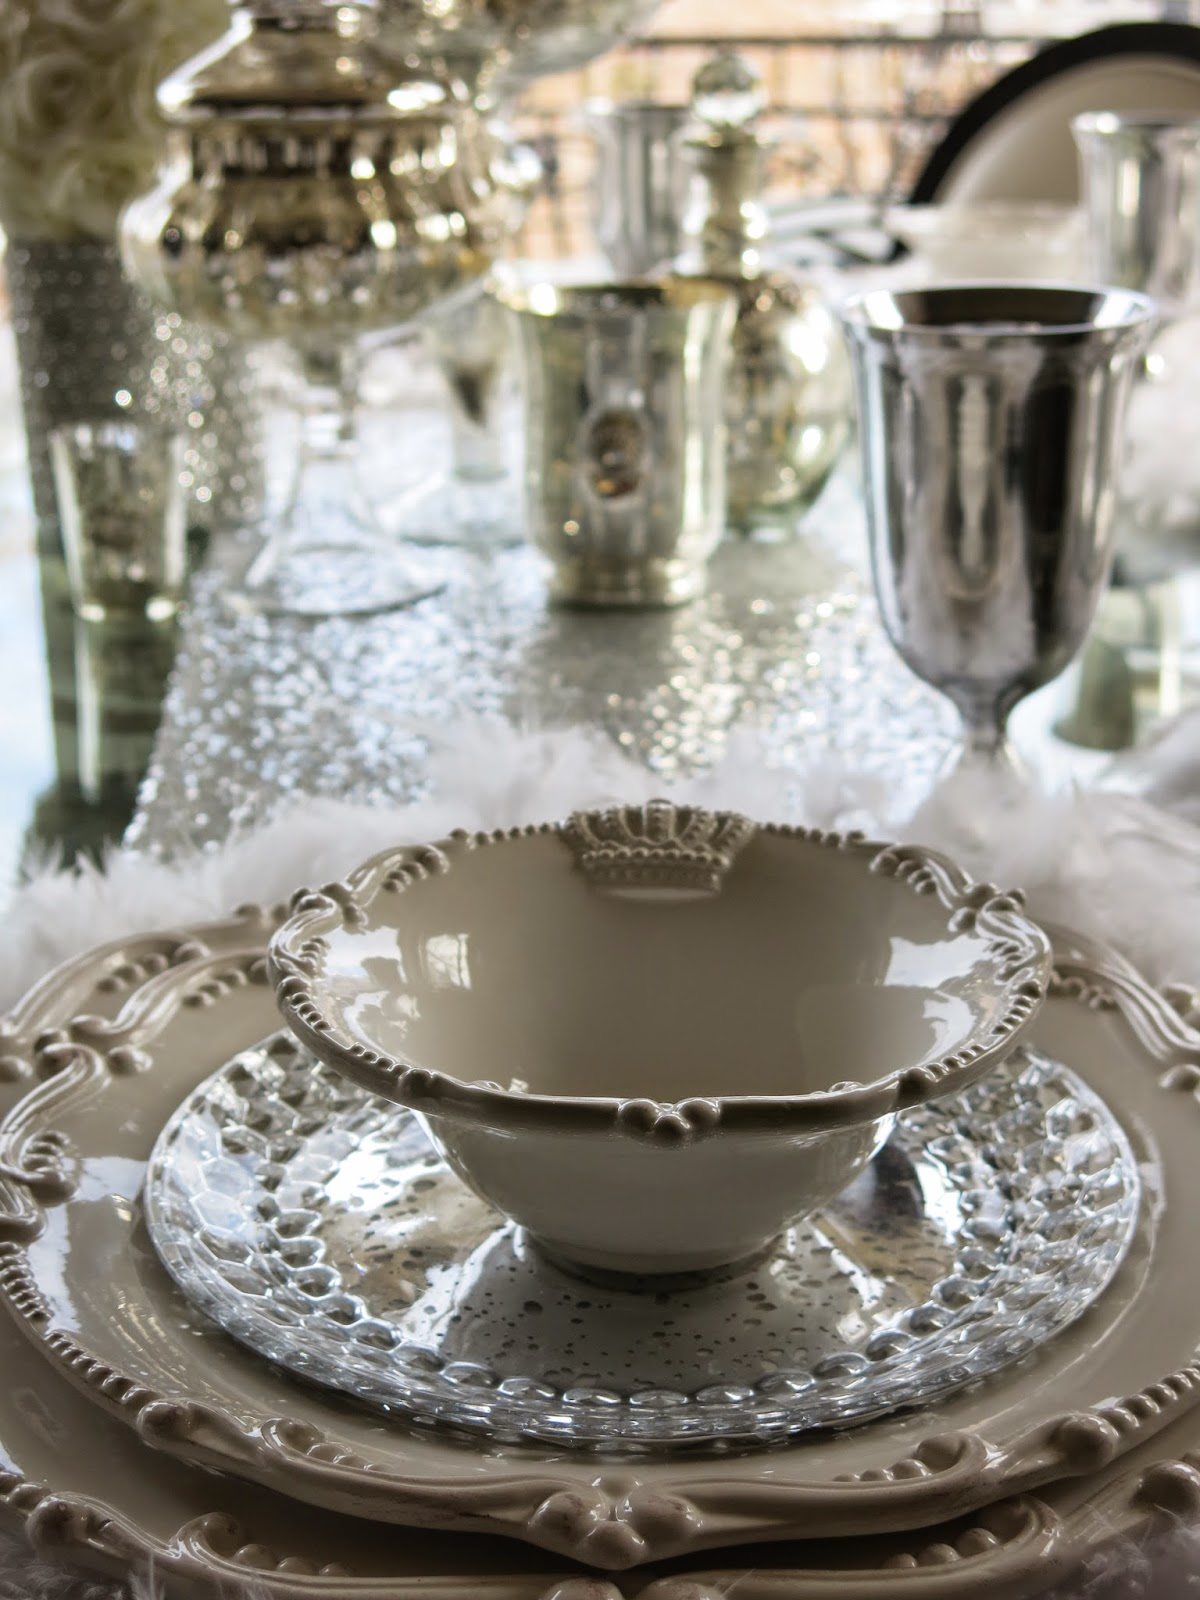
White clouds of Heavenly feathers
nest the plates fit for a king
celebrating Christmas.


Today I combined the white feathers
with royal crown plates and
glittering silver plates.  This is just
one of those tables that took my breath away.


I love plate stacked upon plate with crowns
topping them.  These were a wonderful 
collection of 24 each that I got from our
local company Tai Pan


complete with 24 bowls.

We have already had two dinner parties
on this table and guests were worried
about getting food on the feathers but
as a designer told me when I asked about
cow hide, "Well, the cows (or in this case birds)
are out in the rain and mud - it washes off easily!"
So that relaxed all of our guests.


I love this beautiful silverplated flatware
that I got for Christmas 2010,
but I always feel badly when people 
ask about them because they are discontinued.
They were Padova from Horchow.
They were on sale (duh!  they were being
discontinued) and I got them at the price
of stainless steel.  I wish they had more 
for you!!


The pewter goblets are fit for a king too.
I received 12 of these as a gift a few years
ago with a huge pewter punchbowl.


This glittery silver tablerunner centers the
table.  This was a new purchase this year
from Koyal Wholesale, another wonderful
source for tablecloths at great prices.  This is
so soft and elegant you could use it as a wrap!


Mercury glass creates the centerpiece.


I embellished one of the vases with
a kingly crown ornament.


This little white and silver
fairy just slipped her way onto
the table.  She thought she matched
perfectly!


It looks all wintery and white but we have had
the warmest December ever!  There is snow in 
the tops of the mountains right outside this
window but we haven't had any in the valley.


But it looks wintery in here.


What a wondrous time of year when we
celebrate the birth of the
King of Kings and Lord of Lords.


I saw this Christmas Tree napkin fold
demonstrated on the Hallmark Channel
morning show, Home and Family and
had to give it a try for one of our
dinner parties.  Isn't it fun.  You have to
turn the napkin inside out to get the 
design to show up, but it is easy to do.
Just look up a tutorial on youtube.


Well, just one week left to prepare
for Christmas.  I think a set of these
feathered placemats would be a 
perfect gift for anyone that loves
tablescaping.

I hope you are having a
wonderful time filled with joy and
love for this great time of year.

I would love to have you here to
celebrate with me - wouldn't that be
a fabulous party!

I will be posting this with


Friday, December 12, 2014

DIY Feathered Placemats


It is sooooooooo easy to create these
billowy, heavenly clouds to adorn 
your table with this year and I am 
going to show you how.

These are a DIY version of the feathered 
placemats featured at my favorite home
store ZGallerie, but I am not going to 
spend $30 for a placemat so I made a
version that cost me about $3-$6 each.


What You Will Need

Neutral colored round woven placemats
(I bought these at Wal Mart in a gold for about $2 each.)
Chandelle (turkey feather) boas
(You will use half a boa per placemat, but buy
one extra one for six placemats just in case you are a 
little short as you go around the placemat.)
Glue gun and glue

I tried these two different ways, one taking the feather
boas apart and gluing them down about 3 at a time
so they looked a little flatter like the ones I had
seen at the store.  That took me 40 minutes each and
I quit that idea after two of them.  Then I went for
the quick version and just glued the boa around the
edge.  That took 5 minutes each.  Yes, I do love to time
myself when doing craft project.  


The picture on the left is the 
placemat that I pulled the boas
apart.  The picture on the right is
where I just glued the whole boa
down.  I actually like the look better
of the one on the right - the five minute
version.  When you put a plate on the
middle you couldn't tell a difference in 
the look.  

The store version had feathers all the
way to the center, but I am never going
to have them on a table without plates
so I just did the outside of the placemat.


Here I show you a partially glued
placemat.  

Before beginning, cut the boa in half.
These white ones I got from Wal Mart on sale for $3
each.  The aqua ones I had to order online for $8
each.  It will use about half a boa, but the white
ones seemed a little shorter and I had to
piece in about 4-6 inches extra at the end so 
buy one extra boa to complete your project.

Use the hot glue gun and 
using a zigzag pattern apply glue to
the outside 1 1/2 inches of the placemat
in about a six to eight inch strip around
the edge.  Press the boa down on the glue.
I use the cool glue gun so I don't end up
with blisters!!  Continue around until you
have the entire edge of the placemat covered.


Piece a little in at the end if you
are short.  Don't worry about cutting
the boas, they are woven in tight to
the center string and you are gluing
them securely.  

When I was done I shook them upside
down to remove any stray feathers.  
They stack nicely for storage.


Here is the white one with the
same placesetting.  I can't decide
which one I love most!!!

Don't worry about eating with these, you
can wipe the feathers off with a damp cloth -
remember birds are out in the water and dirt
too, or if it really gets stained, just cut those
feathers off and glue a few back in their place.

I hope you love these easy placemats
and make some of your own.  You can
buy or order feathers in fabulous colors.


I will be posting this with 


Follow me on Instagram