
I just love the interest and movement that a slideshow gives to a blog!


Although you can click on the "make your own" button
under the slideshow, you are really going to need a little
tutorial on how to go about making your slideshow
and getting it onto your blog.
This slideshow is created on Photobucket.com
which is a free photosharing site.
Begin by creating an account with Photobucket.
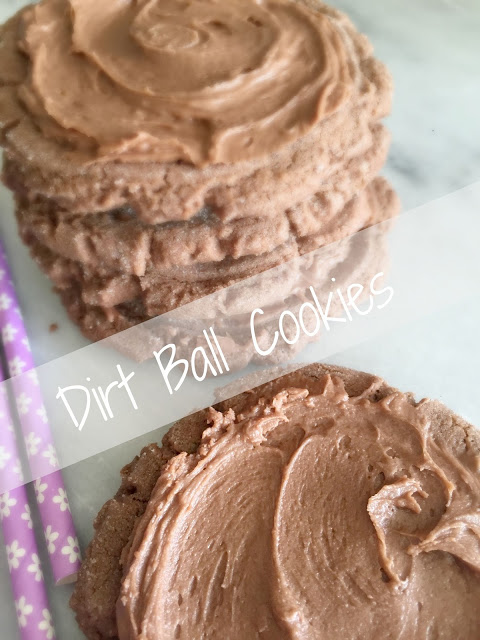
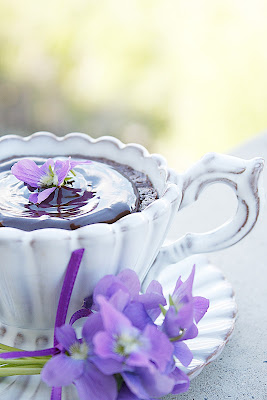
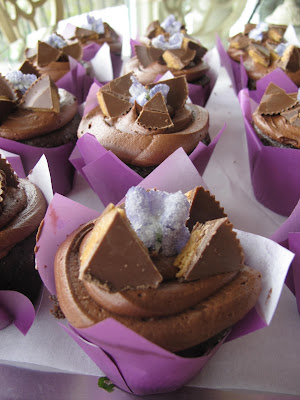
Then you need to upload the pictures you want to
use. I chose to upload 10 images from the month.
You will need to place them in an album and name
the album.
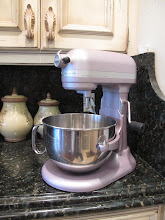
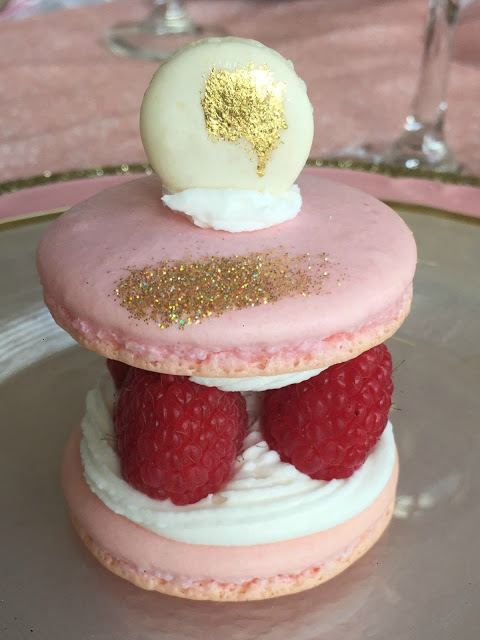
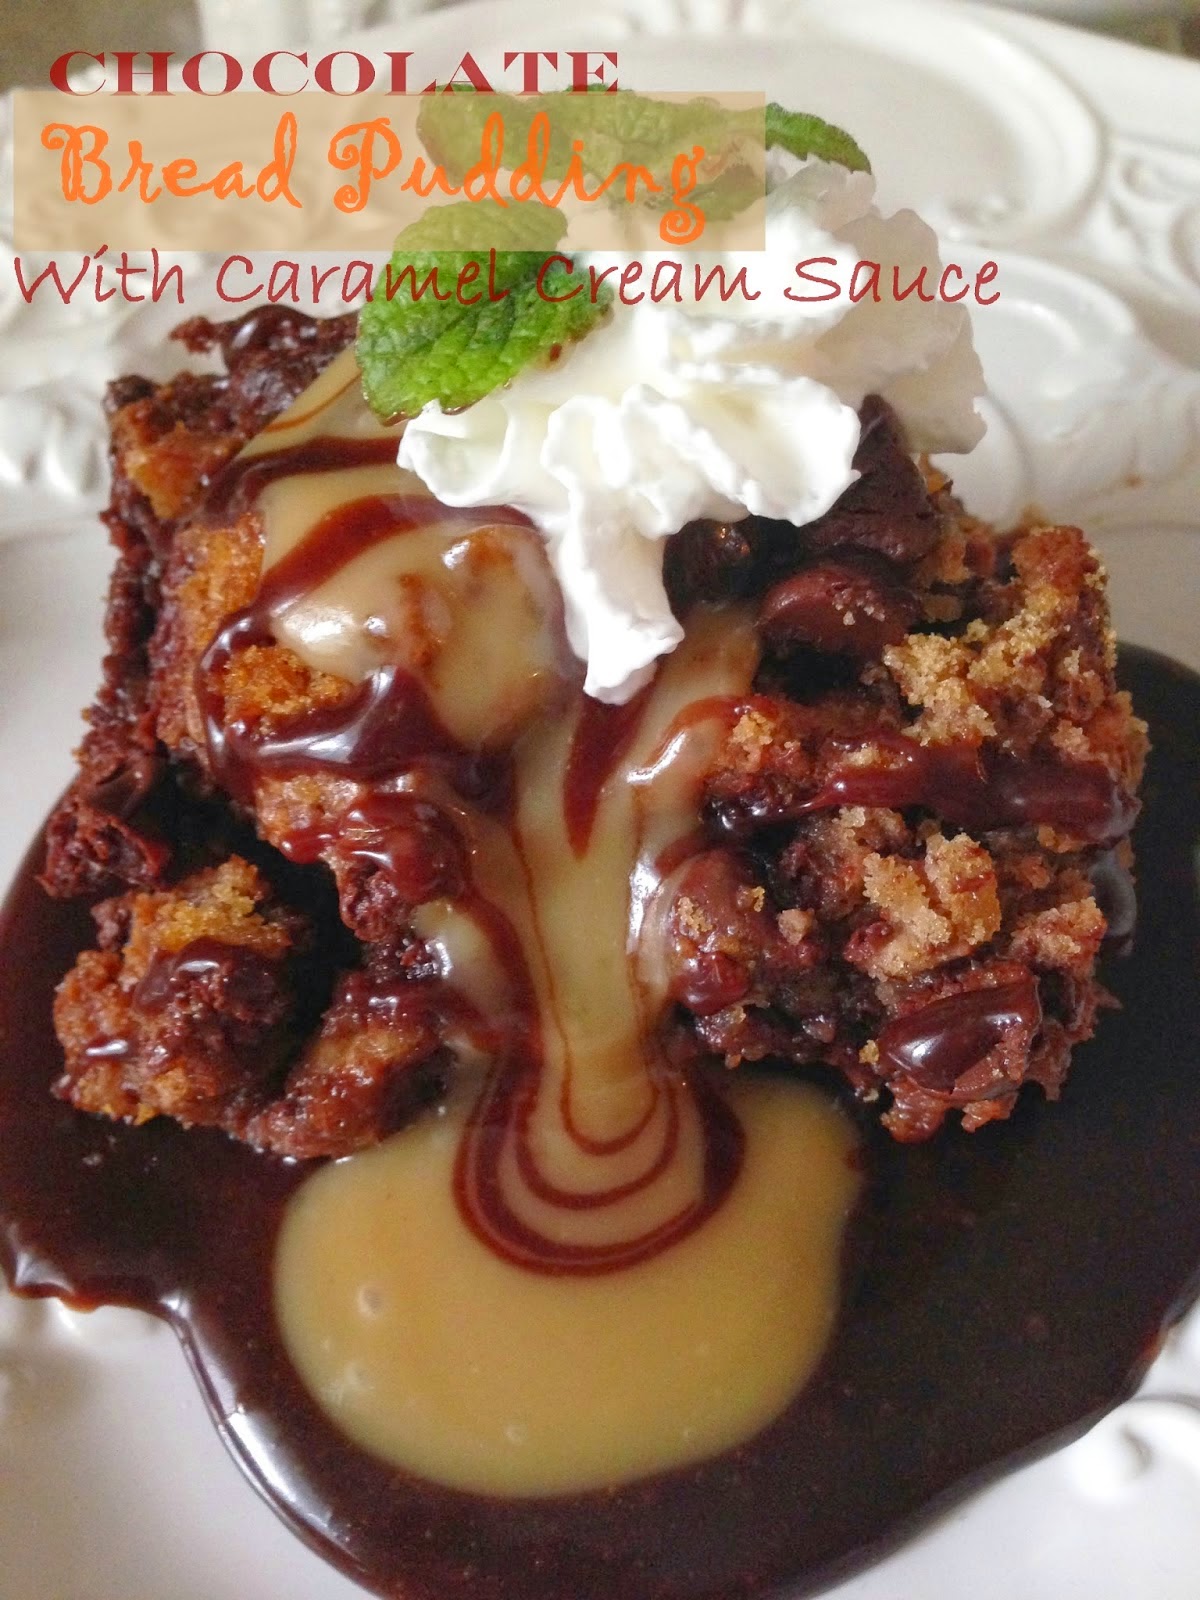
(February was fun because it was all in
pinks and chocolate!)

Then I clicked on "tools" in their blue toolbar at the top.
On the left hand side of the newly opened page
you will see "slideshow". Click on this.

Open the album of pictures and then follow the
steps one, two and three. Step one you will
click on the pictures from your album that you
want in the slideshow and they will appear down below.
Step two you will pick a style for your slideshow.
You can try out as many styles as you want easily
and quickly.
and quickly.

Step three you will click to "save" your slideshow.
Now that your slideshow is saved, on the right hand
side of your Home Page you will see
"share this album"
"share this album"
and you will click on the "HTML Link" button.
It will automatically say "saved" so you don't have
to highlight it and right click it.

Now open your dashboard and open "Design".
Click on "Add a Gadget" where you want your
slideshow to appear on your blog. I wanted
it under my header so I picked the "Add a Gadget"
under the header. Then I went to
"HTML/Javascript" and clicked on it. Then I "pasted"
the HTML Link that I had gotten off Photobucket,
previewed it, then saved it.

At first I didn't like
the slideshow
because it didn't fill the whole header
space so then I went back to Photobucket and edited
my slideshow and changed it from "medium" to "large"
and now it filled the whole width of my post page.
Have fun giving this a try!
Posting with Metamorphosis Monday
Have fun giving this a try!
Posting with Metamorphosis Monday


OK, I am bookmarking this so I can come back when I've had more coffee!
ReplyDeleteThanks,
XO Cindy
Wonderful. So many lovely things. You are so creative. Love the dishes, the pink and chocolate. Some of my favorite colors...and food items!
ReplyDeleteBlessings,
Debbie
THanks for the tutorial Jacqueline. I had no idea how to do this and know I do!! I always learn something helpful, creative, and fun when I come here.
ReplyDeleteLooks great Jacqueline...thanks!
ReplyDeleteHow fun. Great tutorial. Hugs, Marty
ReplyDeleteThanks so much for the tutorial..I am one of those that needs this sort of thing to understand.
ReplyDeleteLove it, so I think I'll give it a try!
Thanks for posting the how to on this.I've been thinking about adding one to my blog. I love how it shows off all your hard work, which you need to show off because all of it is amazing!
ReplyDeletenice tutorial, jacqueline! anne
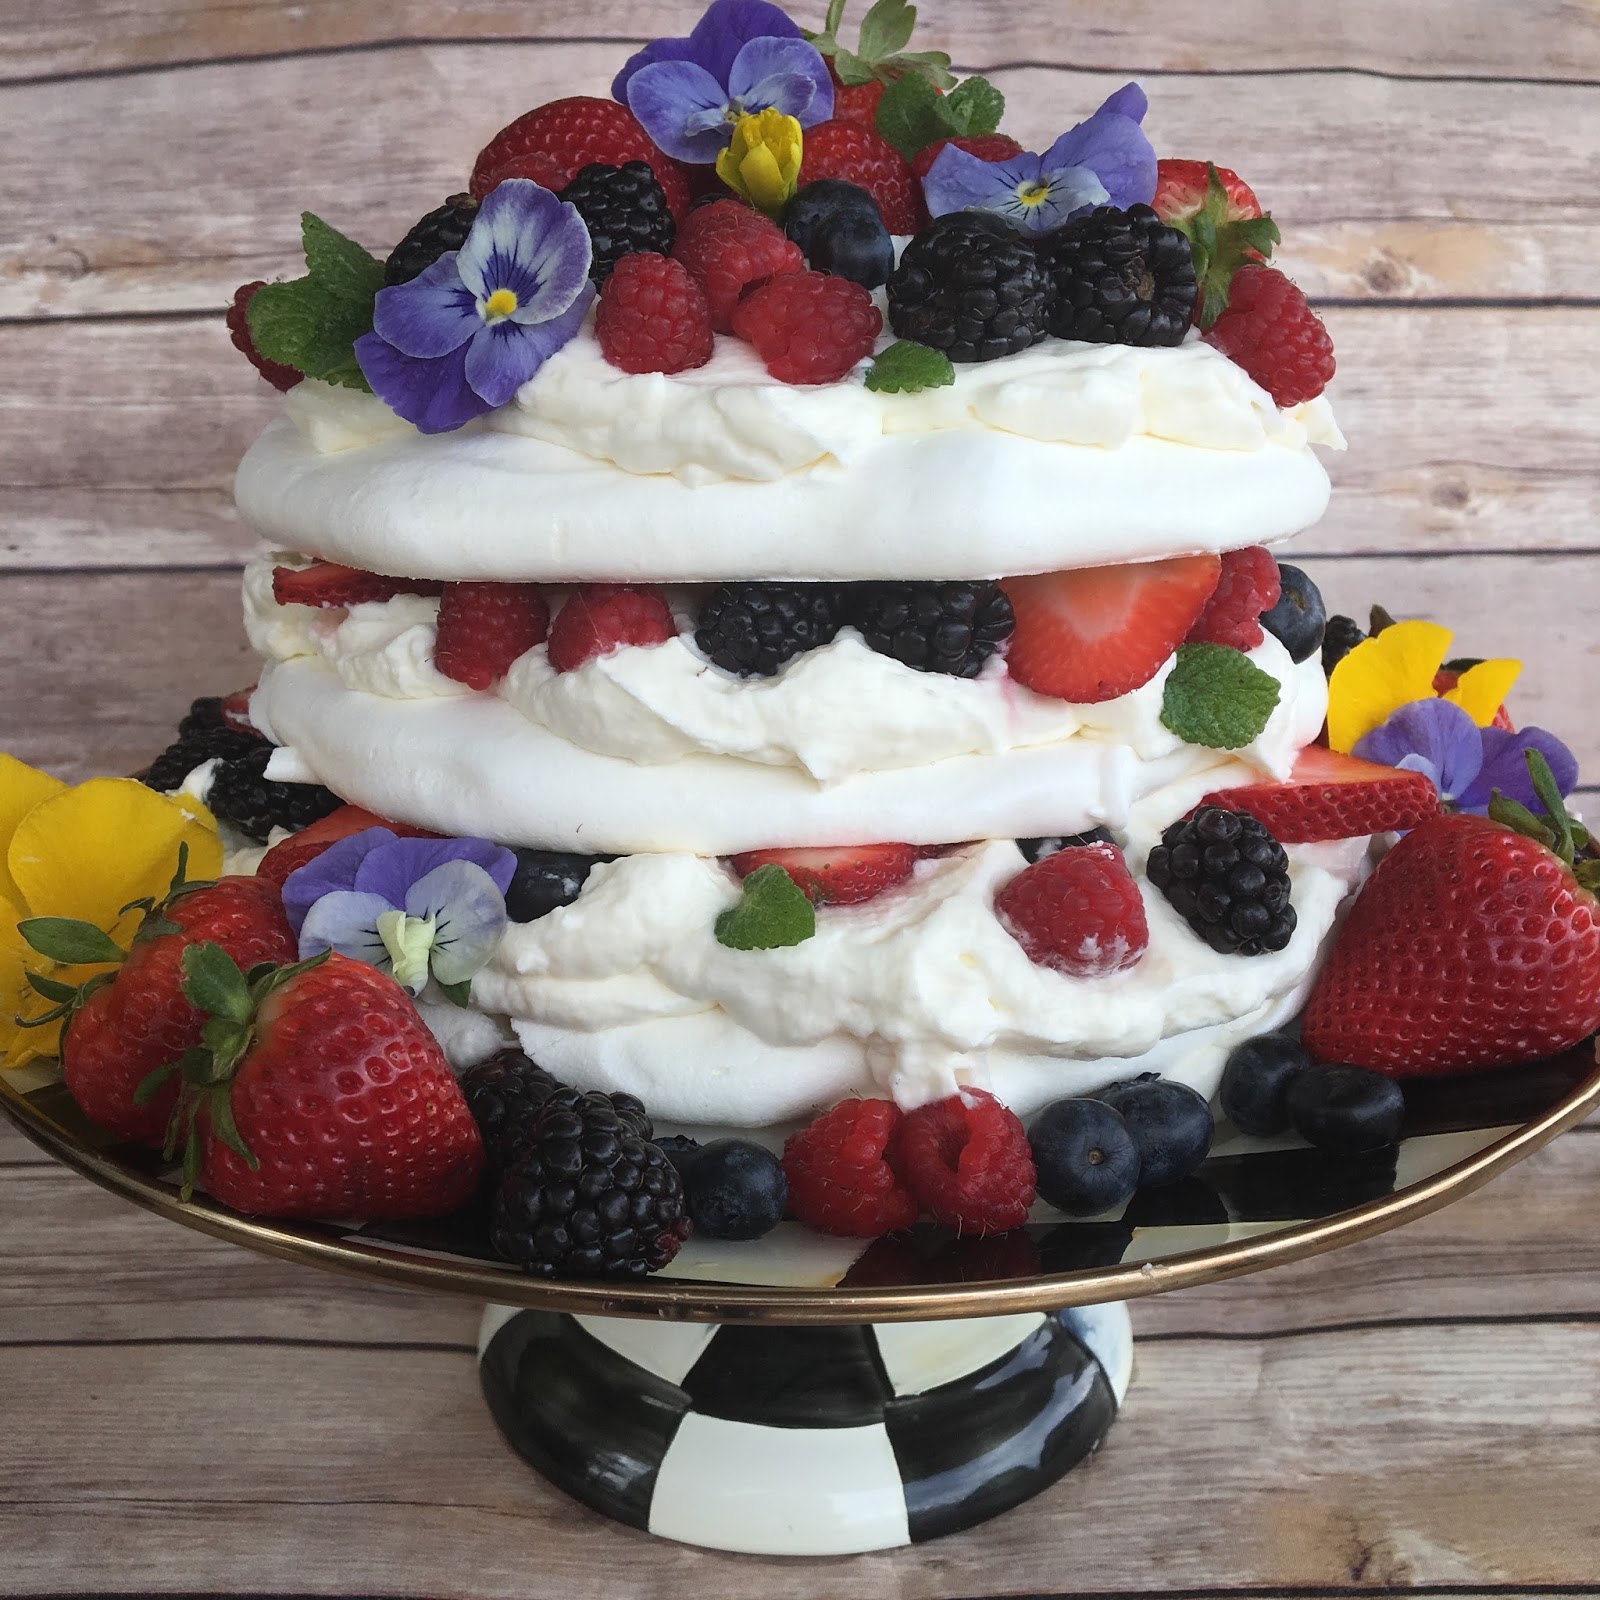
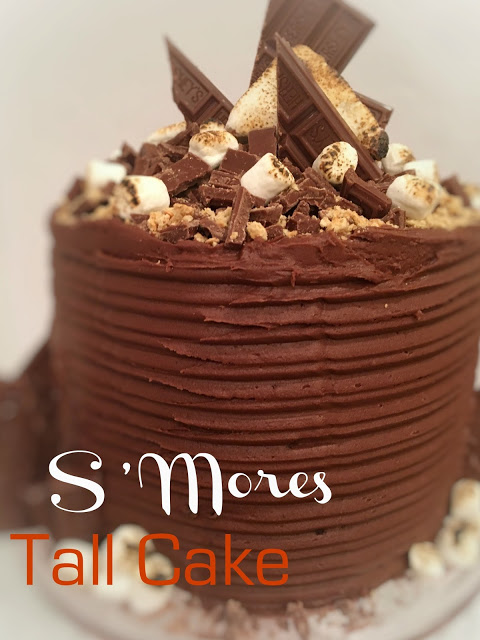
ReplyDeleteThe cake is gorgeous!
ReplyDeleteI missed you at the blog crawl!
I remember that cake and am STILL awed by it! Thank you so much for this tutorial, I am saving this so I can try it when I ahve some TIME!!!! Today we put money down on a lot to build a NEW HOME!!!!!!!! I am beyond excited!!! XO, Pinky
ReplyDeleteYou are so creative! So many lovely things!
ReplyDeleteThanks for sharing.
Hope to see you on my blog:)
WOW!! I so want to do this. Very very cool and I love your photos, they are beautiful. I am definitely coming back to these instructions as soon as I have a day to play! Thanks so much. I'm so excited. I think I can do this!
ReplyDeleteThank you SO much, Jacqueline, for explaining exactly how you did your beautiful slideshow & how you got it where you wanted it!! I have 2 of my sewing projects on my sidebar, but they don't show well there & I tried to get one to look like yours but failed.
ReplyDeleteI shall try again, following your instructions. I LOVE the fact that we get to enjoy some of your beautiful photos over again.
Thanks a million!
Hugs,
Rett
I wondered how you did that! Of course it helps when every picture from your blog is perfect! It really does add interest to your page...great tutorial.
ReplyDeleteI've always admired your slideshow, Jacqueline, so I really appreciate your giving the instructions of how to make one. I'm pinning this to my blog tips folder :) Thanks!
ReplyDeleteSuch a great idea! I will have to come back to this when my mind is not so scattered. :-)
ReplyDeleteMay I ask? I've never used the "no reply" thingy with Blogger and now folks keep telling me that it's there when they want to respond to me. I've worked & worked on the settings...not sure what to do.
Thanks in advance!
xo
Pat
Simply beautiful!
ReplyDelete